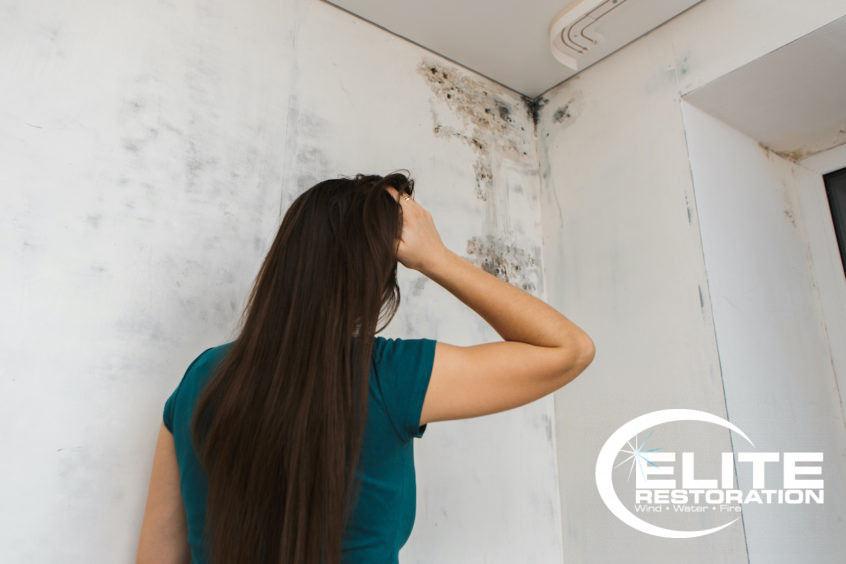
How Mold Remediation Works

The following list details the core five steps we take to improve the odds of successful remediation. However, it is not an exhaustive list of the mold removal process.
It’s important to remember that every mold removal situation is different. In many cases, water damage restoration goes hand in hand with mold remediation. In other cases, environmental factors such as high humidity can be at fault. Some cases may take more time or resources than others. The important thing is to hire professionals as soon as you suspect that your home or business has a mold problem.
Elite Restoration’s Mold Remediation Process
Step One: Perform a Thorough Inspection and Set Up Containment
The first step in mold remediation is to assess the extent of the damage and quickly set up containment. Containment can involve setting up simple plastic barriers, or it may call for something more intensive. For particularly toxic molds, an airlock or a decontamination chamber may be needed. Once the affected area has been contained, the next step in the mold remediation process can begin.
Step Two: Assess Contents and Materials to Determine the Cause and the Best Remediation Method
After containment is set up, a deeper assessment takes place. We always try and determine what the cause of the mold growth may be. Whether it’s a leaky pipe or dirty air ducts, this will help us in our remediation plans and allow us to treat the source of the problem. We look at the affected materials and contents and figure out a plan of action. Some materials can be easily sanitized, while others may need aggressive and abrasive cleaning. In some cases like moldy drywall, sections of wall may need to be completely replaced. Once the best course of action has been decided, the next step is to start the mold remediation process.
Step Three: HEPA Vacuuming Followed by Aggressive Cleaning
The first step in cleaning is to use a HEPA vacuum. All affected areas should be vacuumed well prior to any aggressive or abrasive cleaning. This helps reduce the amount of mold spores that will be released into the air during cleaning. It’s also much easier to clean and sterilize a surface that’s been vacuumed thoroughly. Next, the area is treated to destroy present mold, and prevent future mold growth.
Step 4: Clean, Wipe, and/or Apply Biocide and/or Encapsulate Materials (situational)
There are many different avenues available for future mold prevention. Sometimes a simple application of biocide is enough to treat an area and inhibit further growth. In other cases, affected materials may need to be encapsulated to trap deeply embedded mold and prevent it from resurfacing.
Step 5: Confirm Remediation Results
The team at Elite Restoration follows the standards set by the Institute of Inspection Cleaning and Restoration Certification (IIRC). Our team is IIRC certified and trained to provide mitigation services as well as reconstruction services. In certain cases, an Environmental Hygienist will perform air quality sampling before an area can be deemed safe. Once we’ve determined that all affected materials have been treated to our standards, we remove our equipment and take down the containment area.
Want to know more about our mold removal and treatment services? Check out our page on mold remediation for more details. Our team is available 24/7 for emergency services, and we’re always happy to answer your questions.
Contact us online or give us a call, today!

